How to Turn a Shed into a Gym?
Jared Reiff - April 3, 2023
Are you ready to work hard, sweat, and feel your best without having to pay gym fees for the next 50 years? If so, get ready to “lift some weights and burn some fat” by following the steps on how to turn a shed into a gym. Some of these steps may or may not apply to your situation. Just skip over any that aren’t relevant and keep working on getting your shed ready for your first home workout.
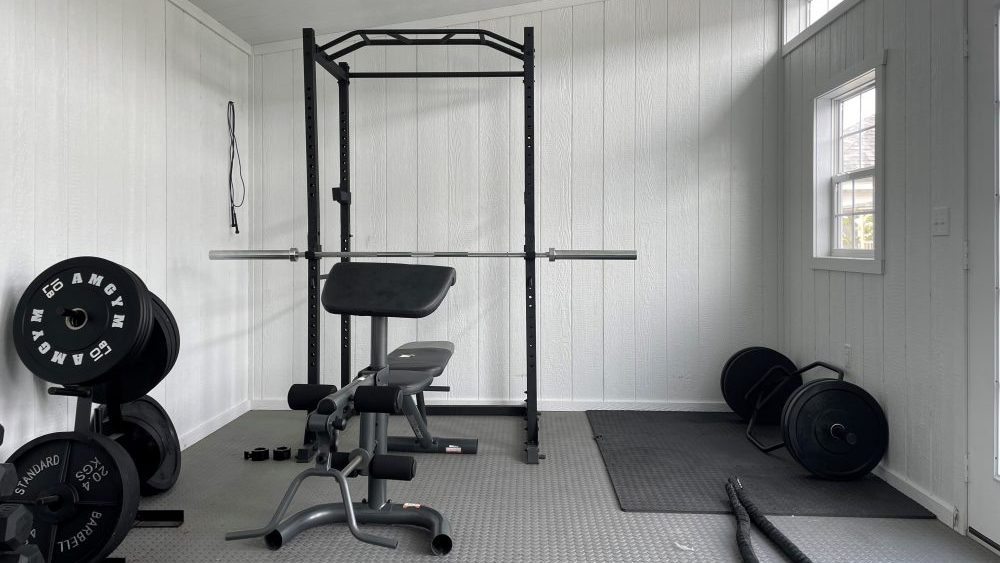
10 Steps to Converting Your Shed Into a Gym
Step 1: Buy a New Shed or Stick with Your Current One
If you already have a shed that is in decent shape, you are already good to go!
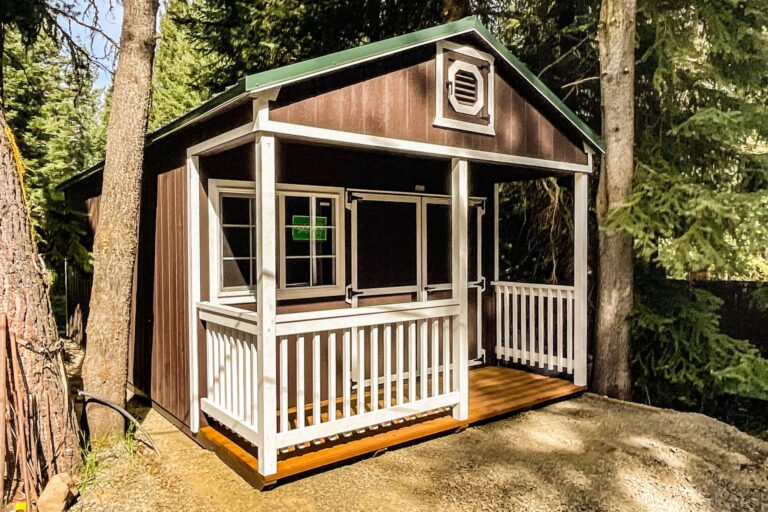
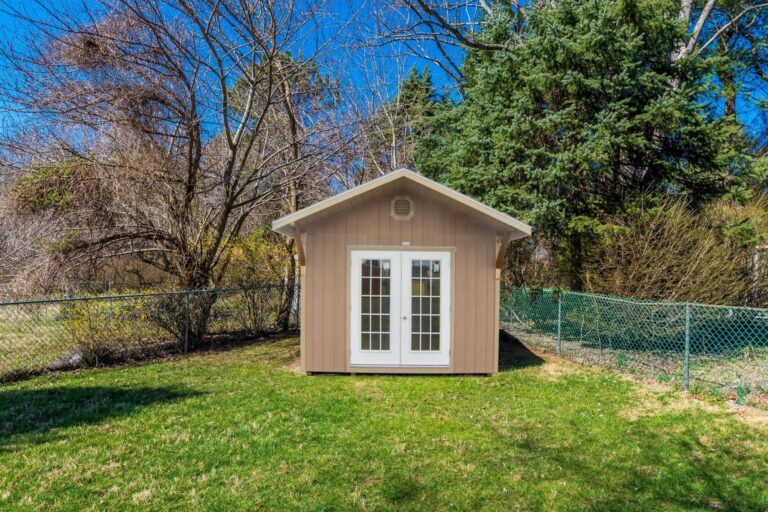
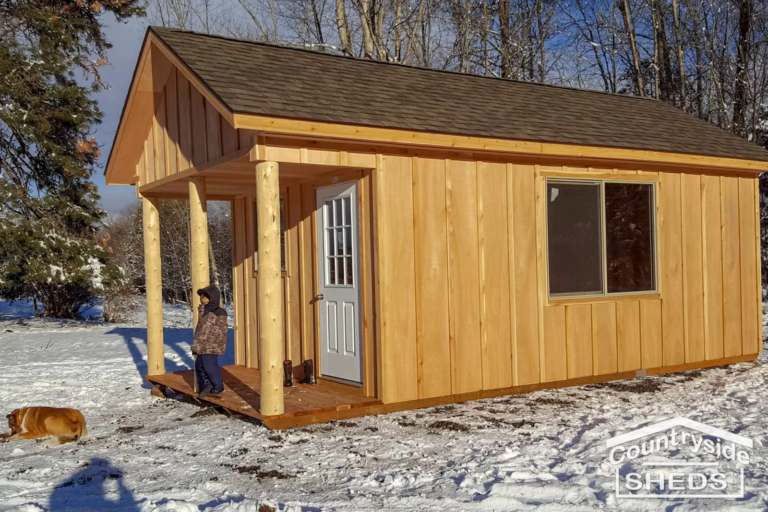
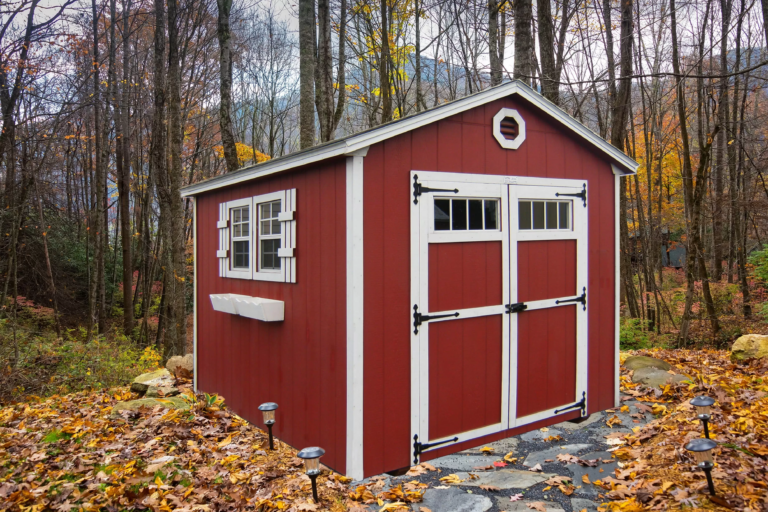
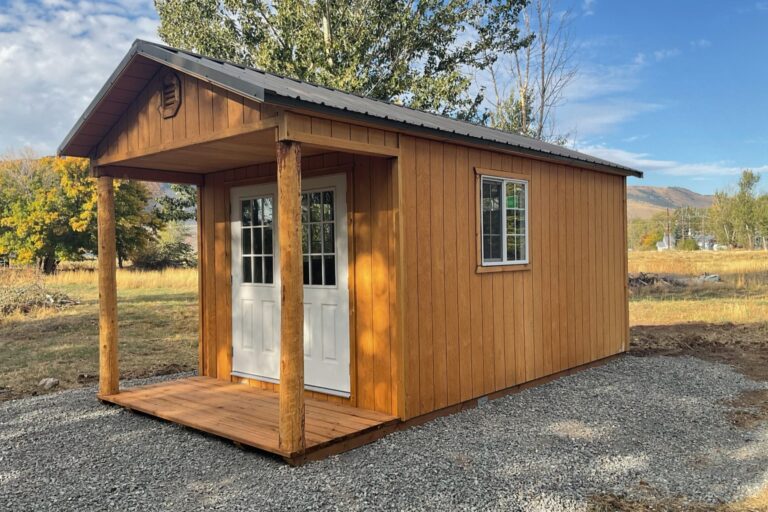
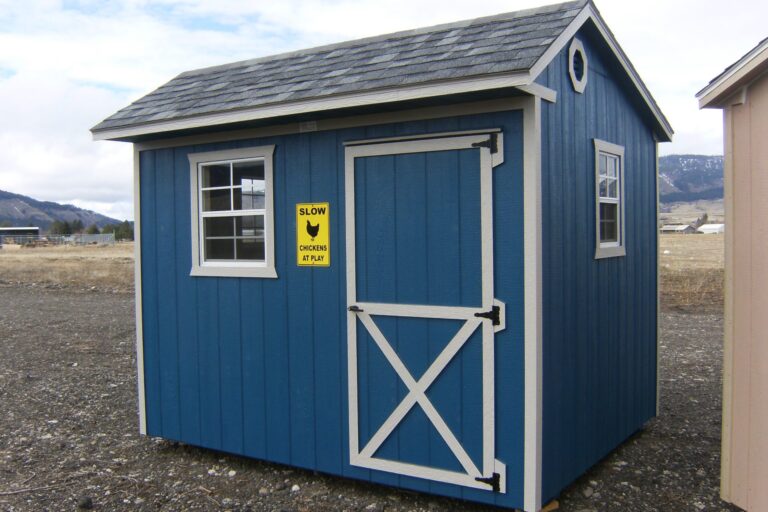
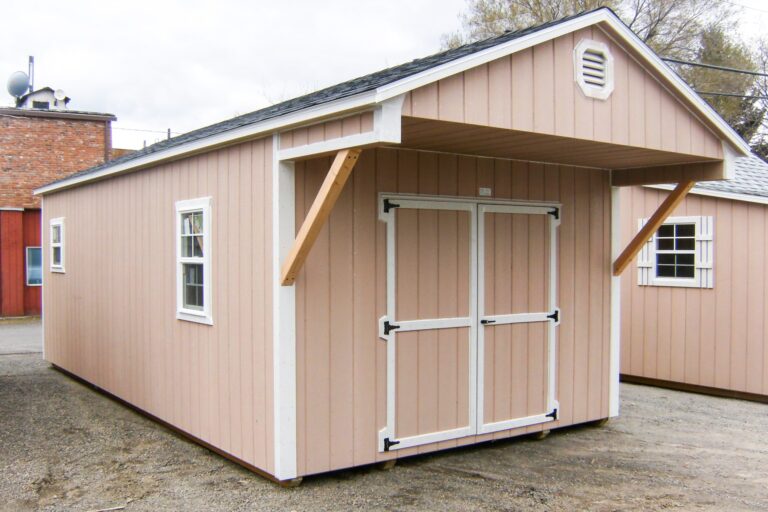
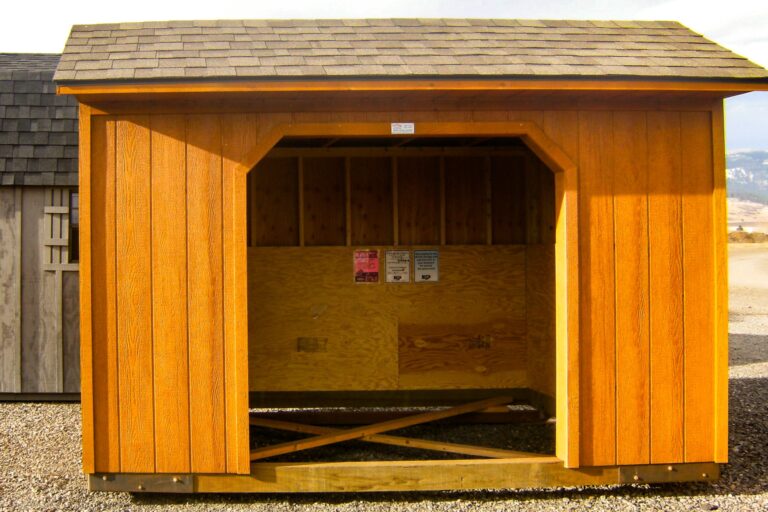
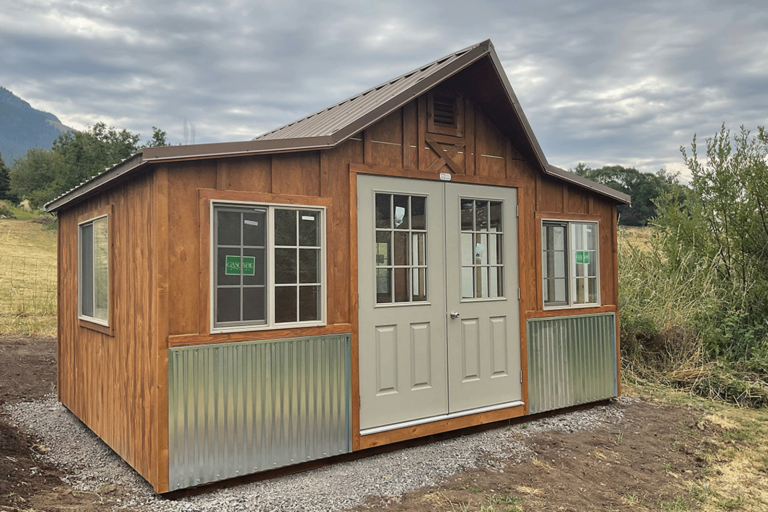
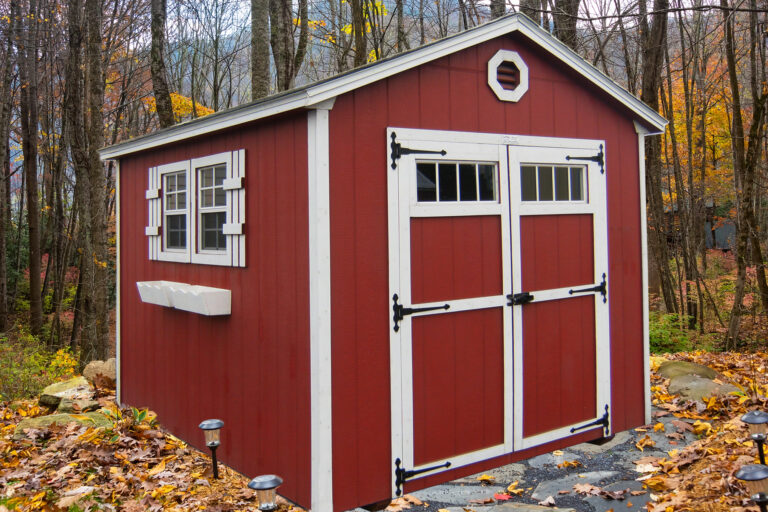
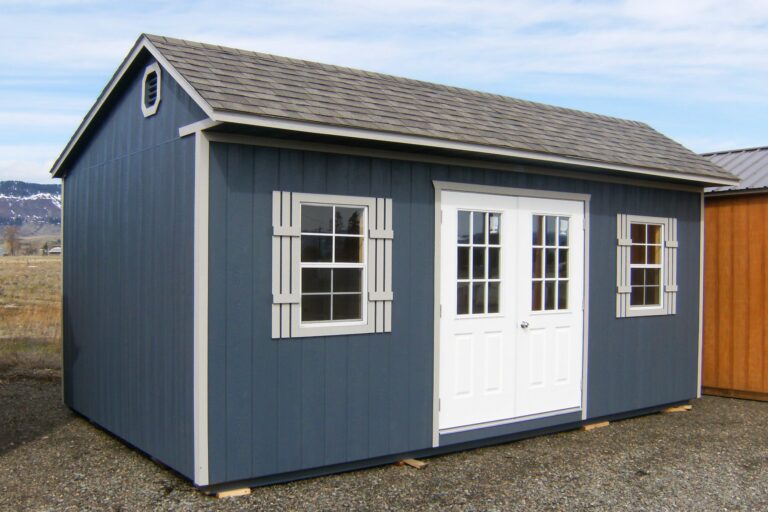
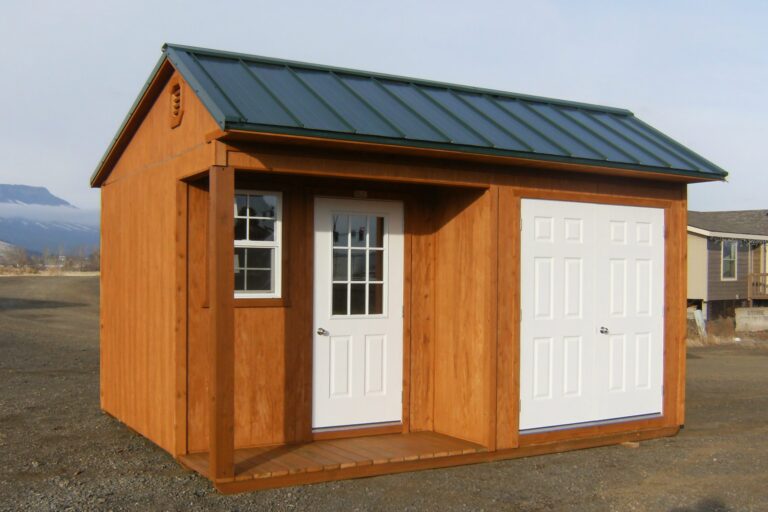
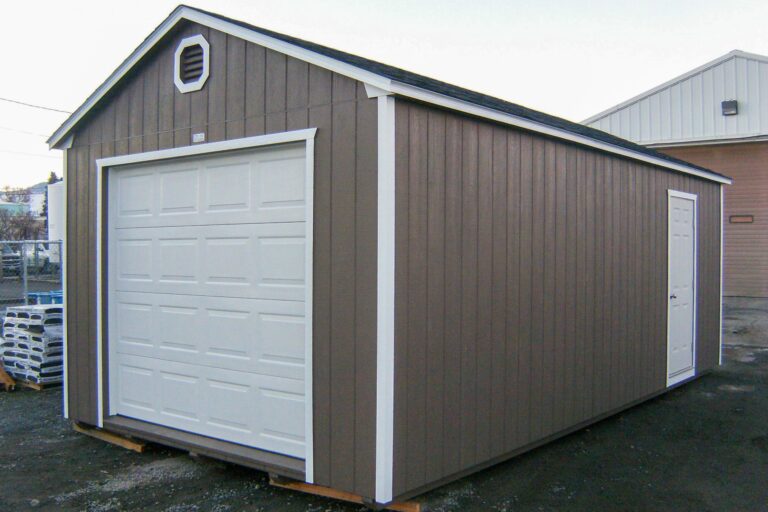
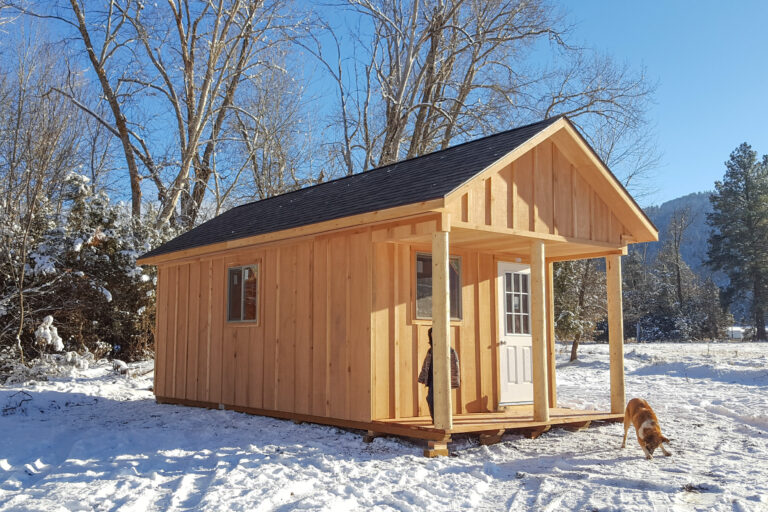
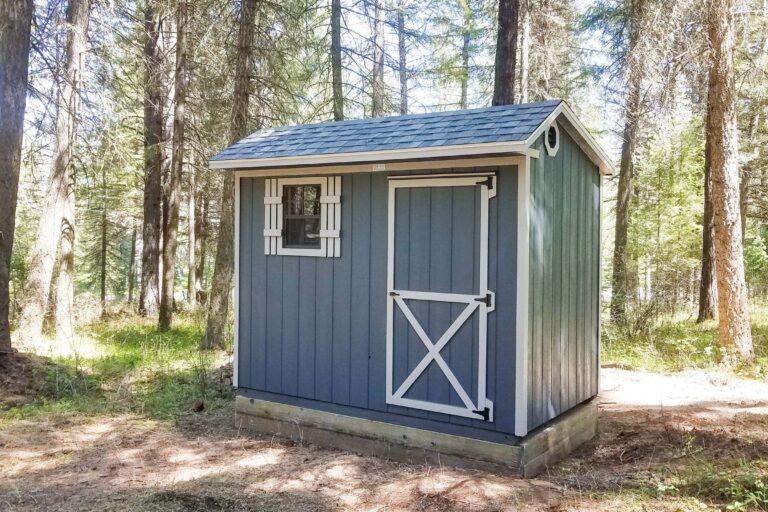
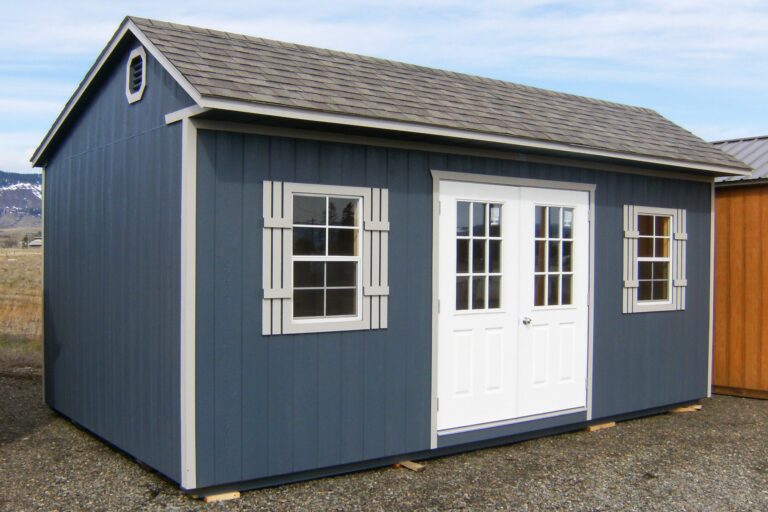
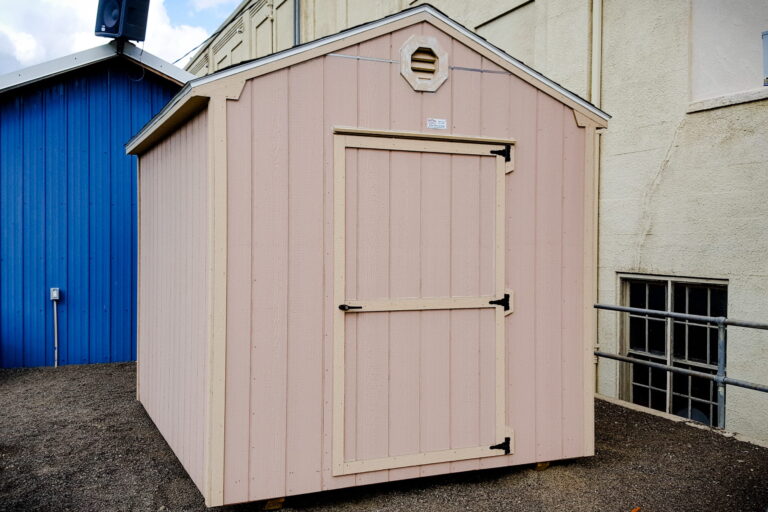
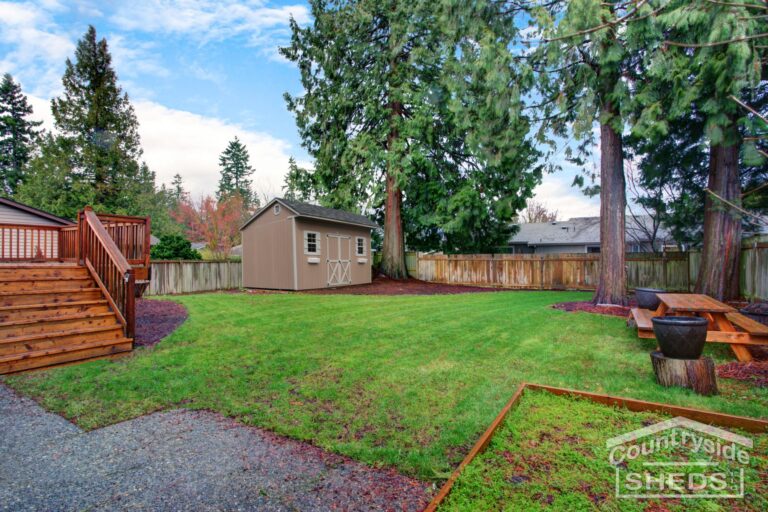
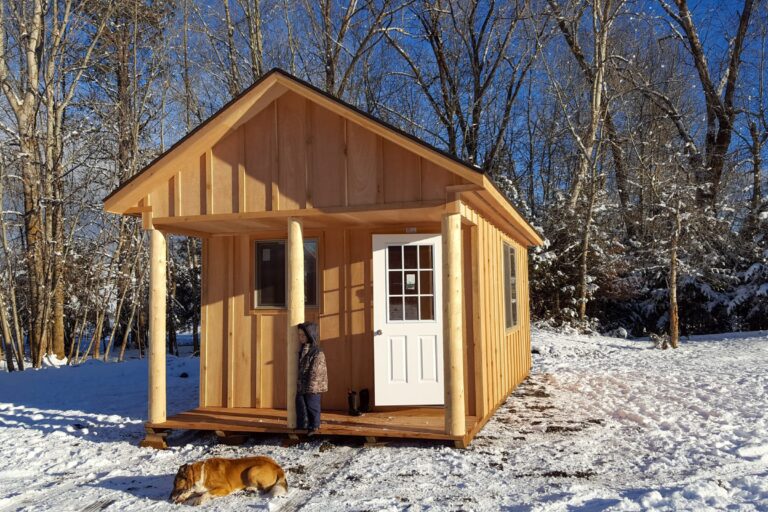
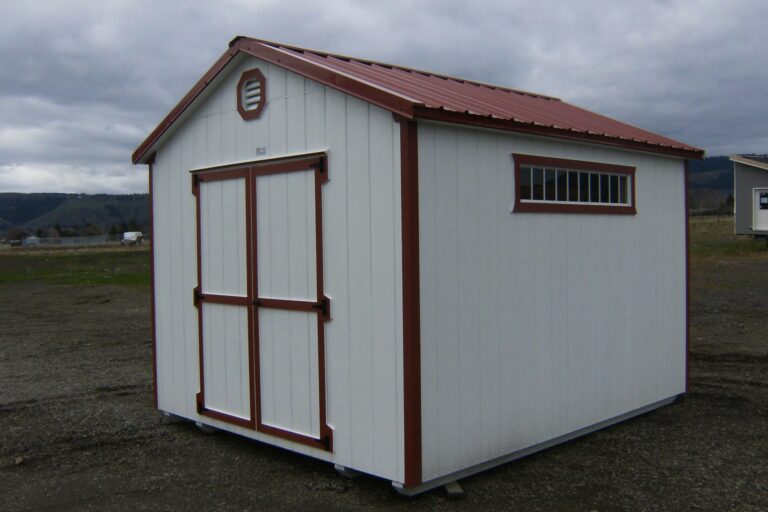
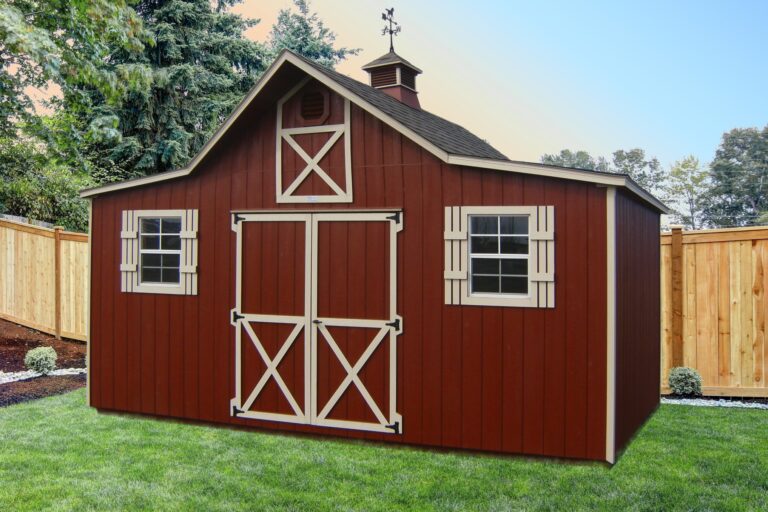
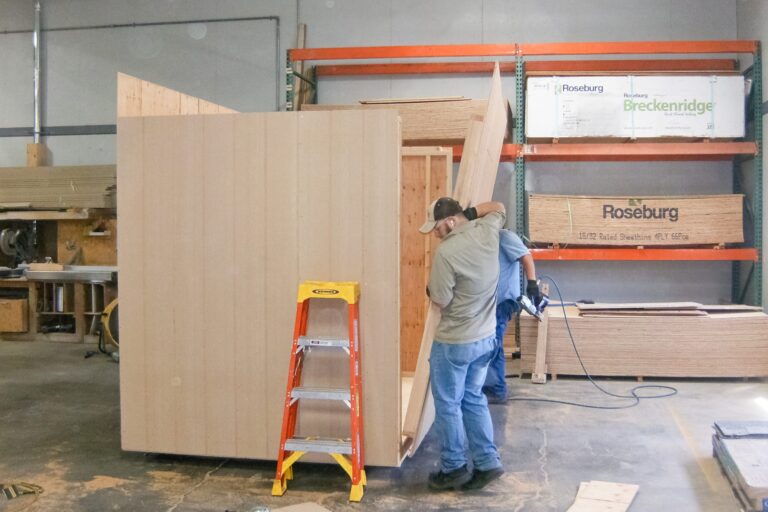
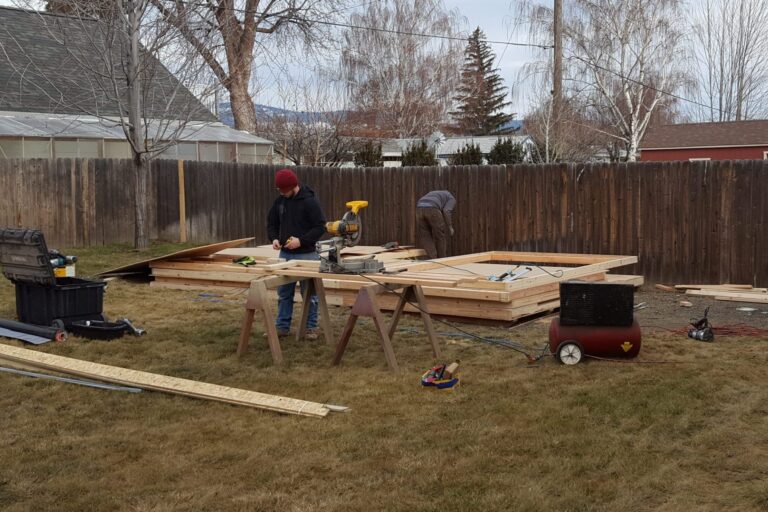
However, if not, you can purchase a new shed from either an online retailer like Amazon, a home improvement store like Home Depot or Lowes, or a local, family-owned shed builder like Countryside Sheds. [Of course, we recommend purchasing your new shed from a local shed builder if possible, due to their special attention to quality materials, build, and customer service.]
Even if you are still in the process of buying a new shed keep on reading for some helpful tips and customizations for your gym shed.
Step 2: Start with a clean slate.
If you want to know how to turn a shed into a gym and your shed is filled with storage or cluttered with random items, now is the time to decide if you want your new gym shed to share space with anything but gym related items.
If you can afford to store storage items elsewhere, go for it. Or this might be the perfect time to achieve a more minimalistic lifestyle (aka trash it or give it to Goodwill).
Ideally your shed should be completely empty in preparation for what is coming next.

Your Power Options:
- DIY – Add the power yourself. If this is you, check out this article by Family Handyman for an idea of what that could look like. The average cost for doing the project yourself could be anywhere from $100 – $800 depending upon your setup situation.
- Hire an Electrician – This would be the best option to ensure the whole process gets done professionally, especially if electrical work is not up your alley. The average cost for hiring could be anywhere from $1,000 – $4,000. Again, it really depends on your setup situation.
- Solar Power- If you want to be more eco-friendly go green and power your shed with the sun…and of course, batteries, solar panels, and inverters. Check out this article on Add a Solar Kit to Power Your Shed to get an idea of how it all works. You may want to DIY this or hire an experienced solar installer. Installing solar power will feel initially pricey but it will pay off in the long run.
Step 3: Install electricity & ventilate.
This is an important step answers a lot for how to turn a shed into a gym question. If you want to be able to see while you work out at night, watch TV during long endurance workouts, or have access to Wi-Fi, then you will want to have electricity installed.

Your Ventilation Options:
Next, you will want your gym shed to offer you proper air ventilation.
Ideal ways to help increase air flow in your gym shed are:
- Installing vents
- Installing a window or two
- Or just keeping your shed doors open while working out.
If you are purchasing a new shed, you can include which ventilating options you want during the customization process of how to turn a shed into a gym.
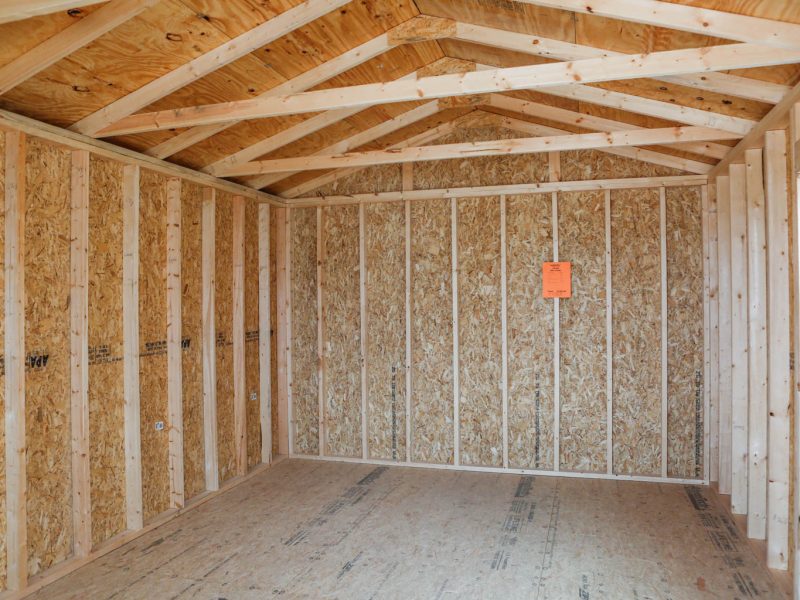
Step 4: To Insulate, or Not Insulate
Some people bypass insulation all together and just let their shed’s studs add their strong character and simply deal with the cold or heat. If that is your preference that is totally legit.
However, if you want to add insulation to help regulate your gym shed’s temperature and save on your electricity bill, it is a worthy investment.
The following are popular DIY ways to insulate your gym:
- Foam Board Insulation (see video about How to Install Foam Board)
- Spray Foam (see video about How to Install Spray Foam)
- Roof Insulation DIY
Of course, if you prefer you can always hire a local contractor to do all the insulation work for you.
Step 5: Reinforce the flooring (if necessary)
If you are using an older shed and you aren’t positive that the floor can handle all your weight training equipment, then definitely take time to reinforce the flooring.
Also, if you just purchased a shed on the “cheap” and it is built with less quality or sturdy materials, then it might be best to reinforce your new shed gym’s floor for proper load bearing capacity. It is especially important if your shed does not sit directly on the ground.
The last thing you want to experience while triumphantly setting down your 200-pound dumbbells is one going right through the floor. ????
You can reinforce your gym shed floor by using pressure treated plywood and carefully applying it across the existing floorboards. Check out the following video for an idea of how this could be done.
Or if it is bad enough you may need to redo the entire floor. However, if your shed is that old and worn down it might be best to just buy a new one.
Step 6: Cover the Walls & Paint
Here are popular options for your shed gym’s interior wall coverage.
- Do Nothing – This is especially popular if you bypassed insulation. Simply let the natural wood be just as is…which is rustic and charming in and of itself.
- Drywall Sheets – Here is a DIY video on how to add Drywall Sheets yourself!
- Shiplap
- Plywood
It is important choosing the right color if you ask how to turn a shed into a gym. Choose Your ideal paint colors from Sherwin Williams, Home Depot, or even Walmart. Whether you feel motivated by dark muted colors, or by light neutral colors, whatever color gets your game face on, paint it on your gym shed walls.

Step 7: Cover Flooring with Workout Friendly Material
Proper flooring for your gym shed is important and worth the investment especially if you are planning on doing heavy lifting workouts.
The following are 3 popular options for gym shed flooring depending on what kind of workouts you are doing.
- Rubber Flooring – You can get rubber flooring in either tiles or rolls. This option works well with either heavy weight training equipment or yoga.
- Horse Matts – This flooring option is very popular with heavy weight training. However, while this may be a cheaper option, there are some serious drawbacks like very strong smell and gaps between pieces.
- Vinyl and Carpet are both good options for lighter workout routines such as yoga and light exercise machines.
Step 8: Add Your Workout Equipment
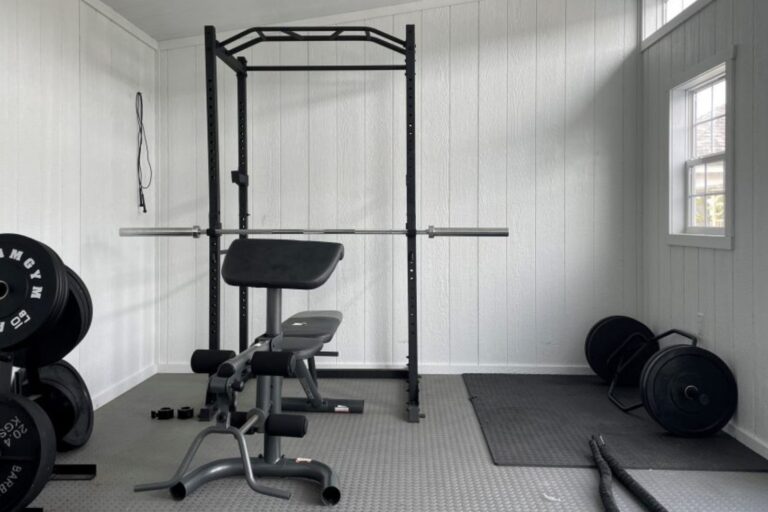
Once the first 7 steps are taken care of, its finally time to add your workout equipment!
Which of the two options fits your situation?
- Bring in what you already have – If you already have your ideal exercise equipment. You are set.
- Starting new and on a budget – Check out how to set up a $500 Gym on Amazon. Hear from Garage Gym Reviews for the whole low down.
If you are looking for more cardio based equipment, then check out this YouTube video.
Don’t forget to check out their links to the exercise products on their video.
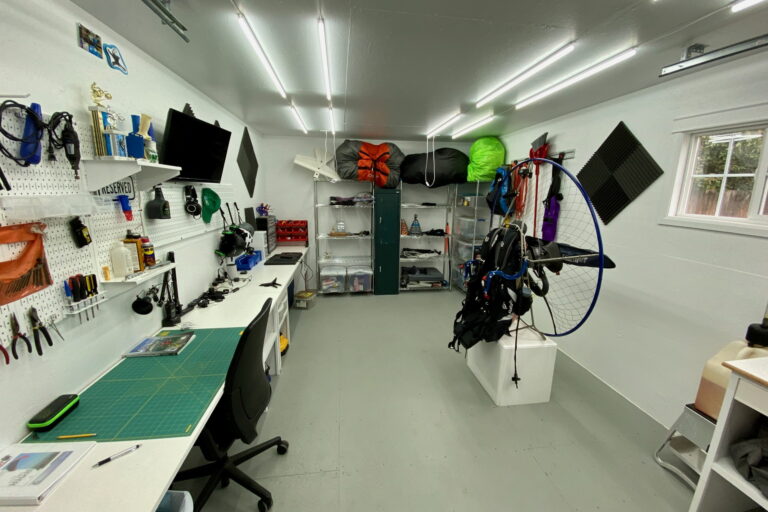
Also, mirrors are a must in a gym, so don’t forget to add some if you don’t already have any. Are mirrors equipment? Absolutely.
Step 9: Add your Unique Gym Shed Décor
Now the extra fun part! Enjoy adding your very own unique gym shed décor. Whether that looks like surf boards, flags, plants, you name it, a home gym shed is made complete with your personal touches on it.
Step 10: Enjoy Working Out from Home!
“No pain no gain” right?! However, now while you are burning those calories, strengthening your muscles, and investing in your health, you can do it in a space that not only feels like your very own. It is your very own. Now you know how to turn a shed into a gym! Enjoy!
So is it worthwhile turning your shed into a gym? ????
Hopefully you’ve found answers to your how to turn a shed into a gym question.
We’ll let you decide. If you are interested, you can start by designing your shed from Countryside Sheds today!
