How to Convert Your Shed into a Guest Bedroom and more…
Onur Aydin - December 13, 2023
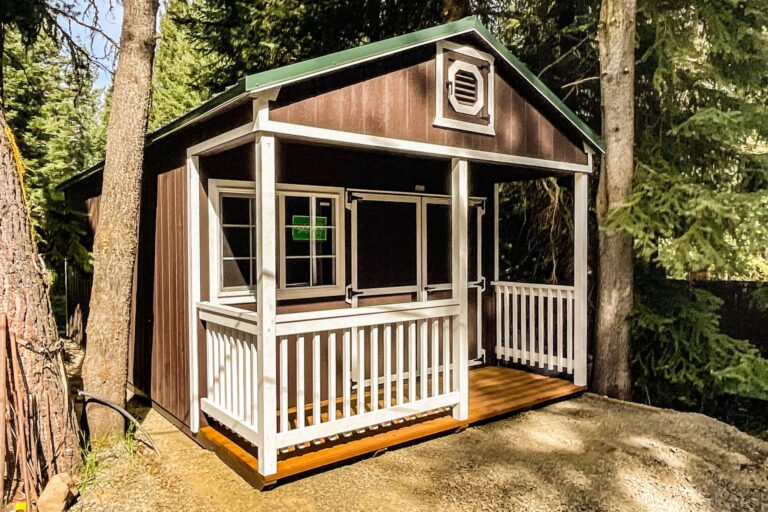
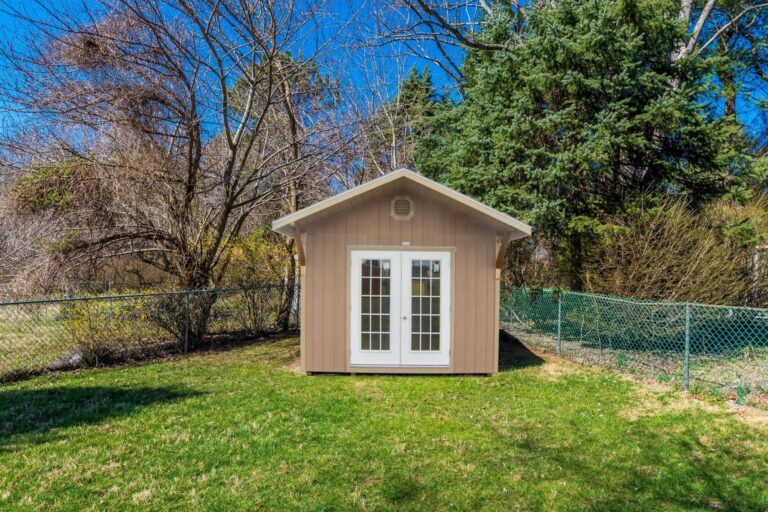
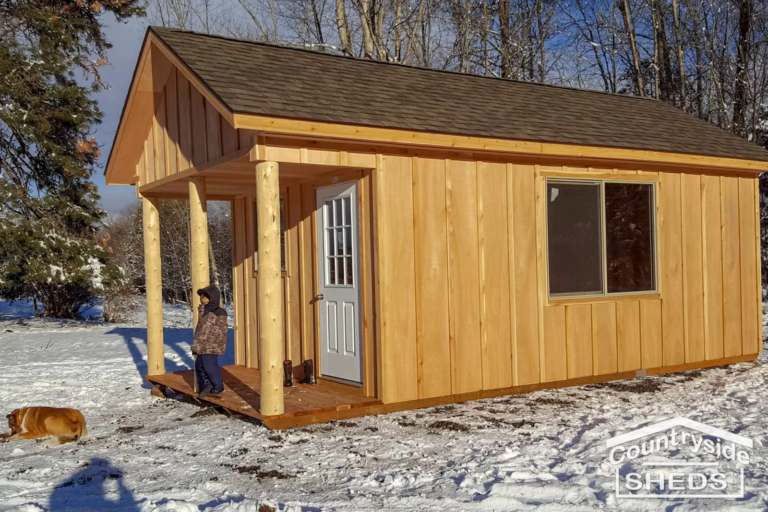
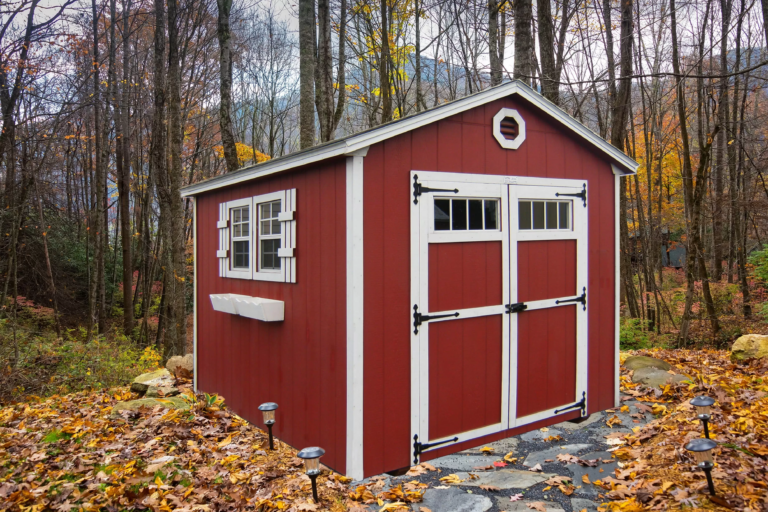
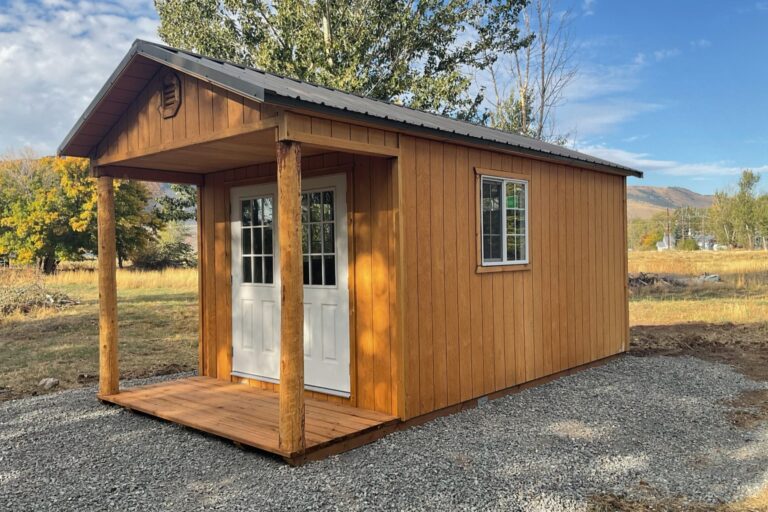
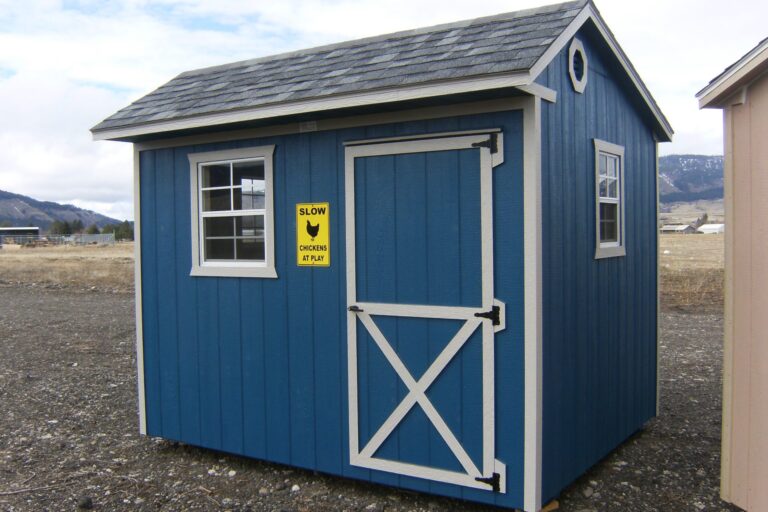
Are you considering a simple, yet comfortable shed to one room transformation? Perhaps for relaxation, extra guests, or even a space for your children or grandchildren to play.
Whatever reason caused you to open this blog, enjoy knowing that converting a shed into an extra room is one of the simplest shed transformations ever. Let’s get started today, and convert your shed into a guest bedroom.
12 Steps to Converting Your Shed Into A Room
Step 1: Determine Your Room’s Purpose & Scope out the Project
First, it is important to determine the room you wish to transform your shed into. Do you want a…
Guest room, she shed, a man cave, or a playhouse?
Once you know for sure what room you wish to create, take a moment to scope out your expectations for the room.

- How much money can you spend on this one room transformation?
- Do you want electrical connection?
- Insulation or no insulation?
- Bare wood walls & paint?
- Do you want interior siding to paint or ready to go shiplap?
- Are you satisfied with the available number of windows?
- What all interior touches, furniture, and décor do I want to include?
And so on and so forth…
Knowing your budget helps you answer some of the questions of whether to go with insulation or not, or adding new windows etc.
Step 2: Get Ahold of Your Ideal Shed – Build, Buy, or Use Current One

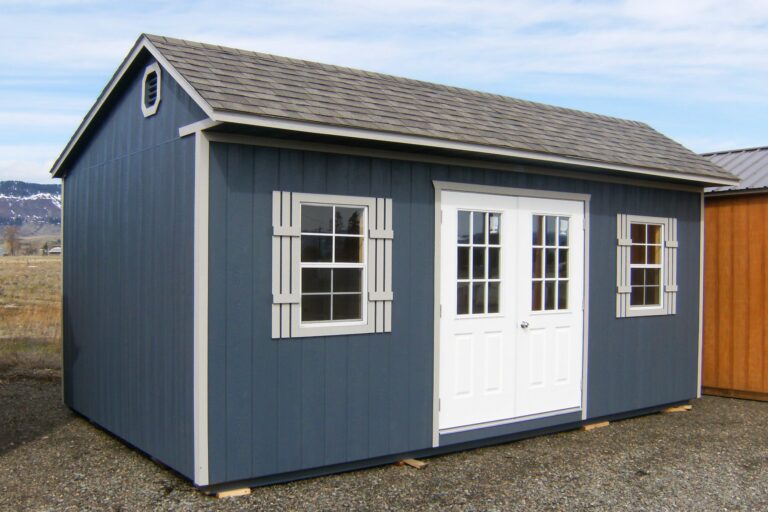
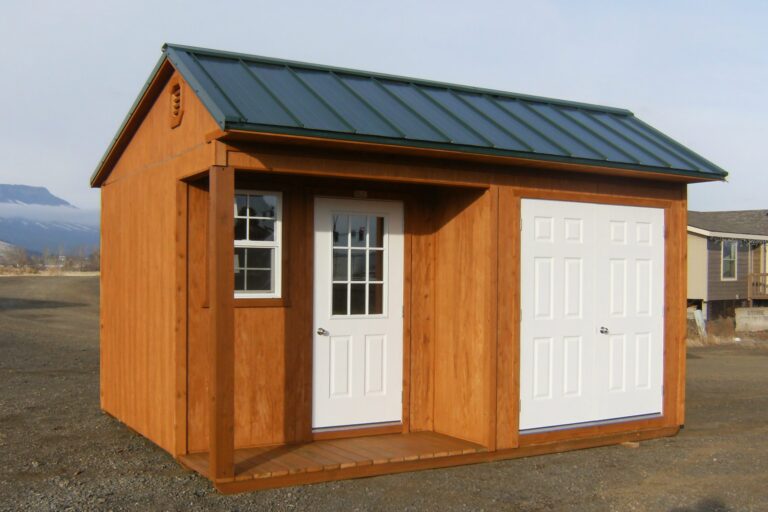
Next, if you do not already have a shed available for this one room transformation, you should decide whether you want to either buy or build one.
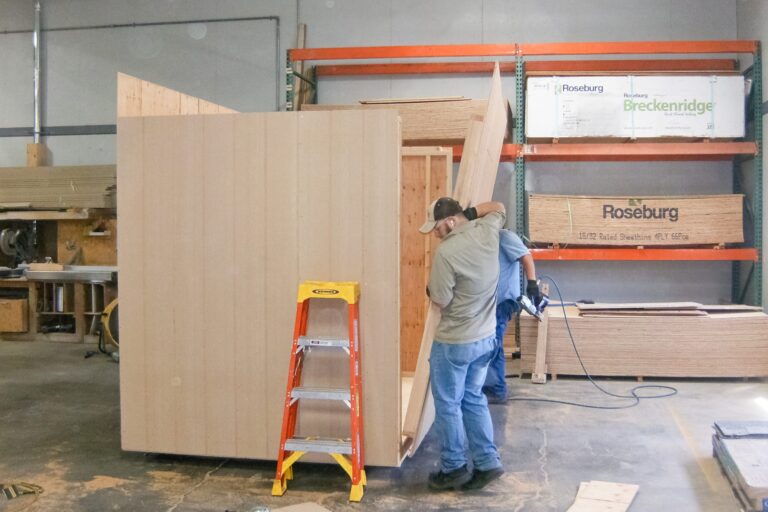
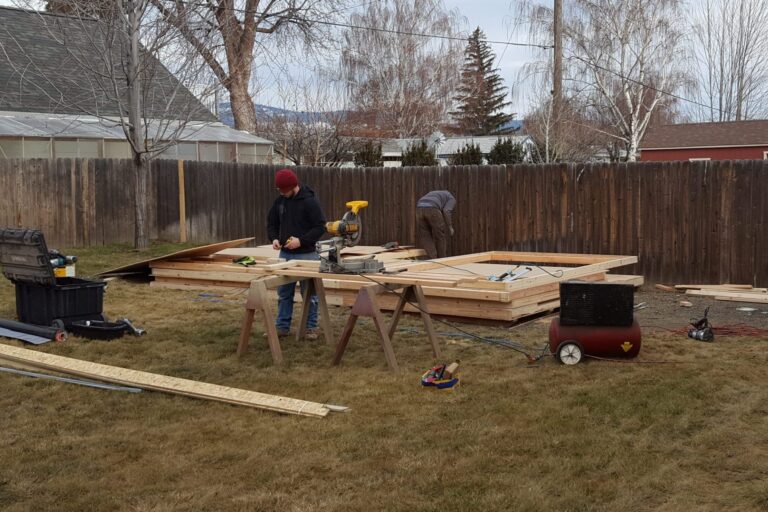
Building a shed – Great option if you have time, tools, and carpentry skills
Buying a shed – Ideal if you are running short on time, lack carpentry skills and proper tools, and wish for top-notch quality of build.
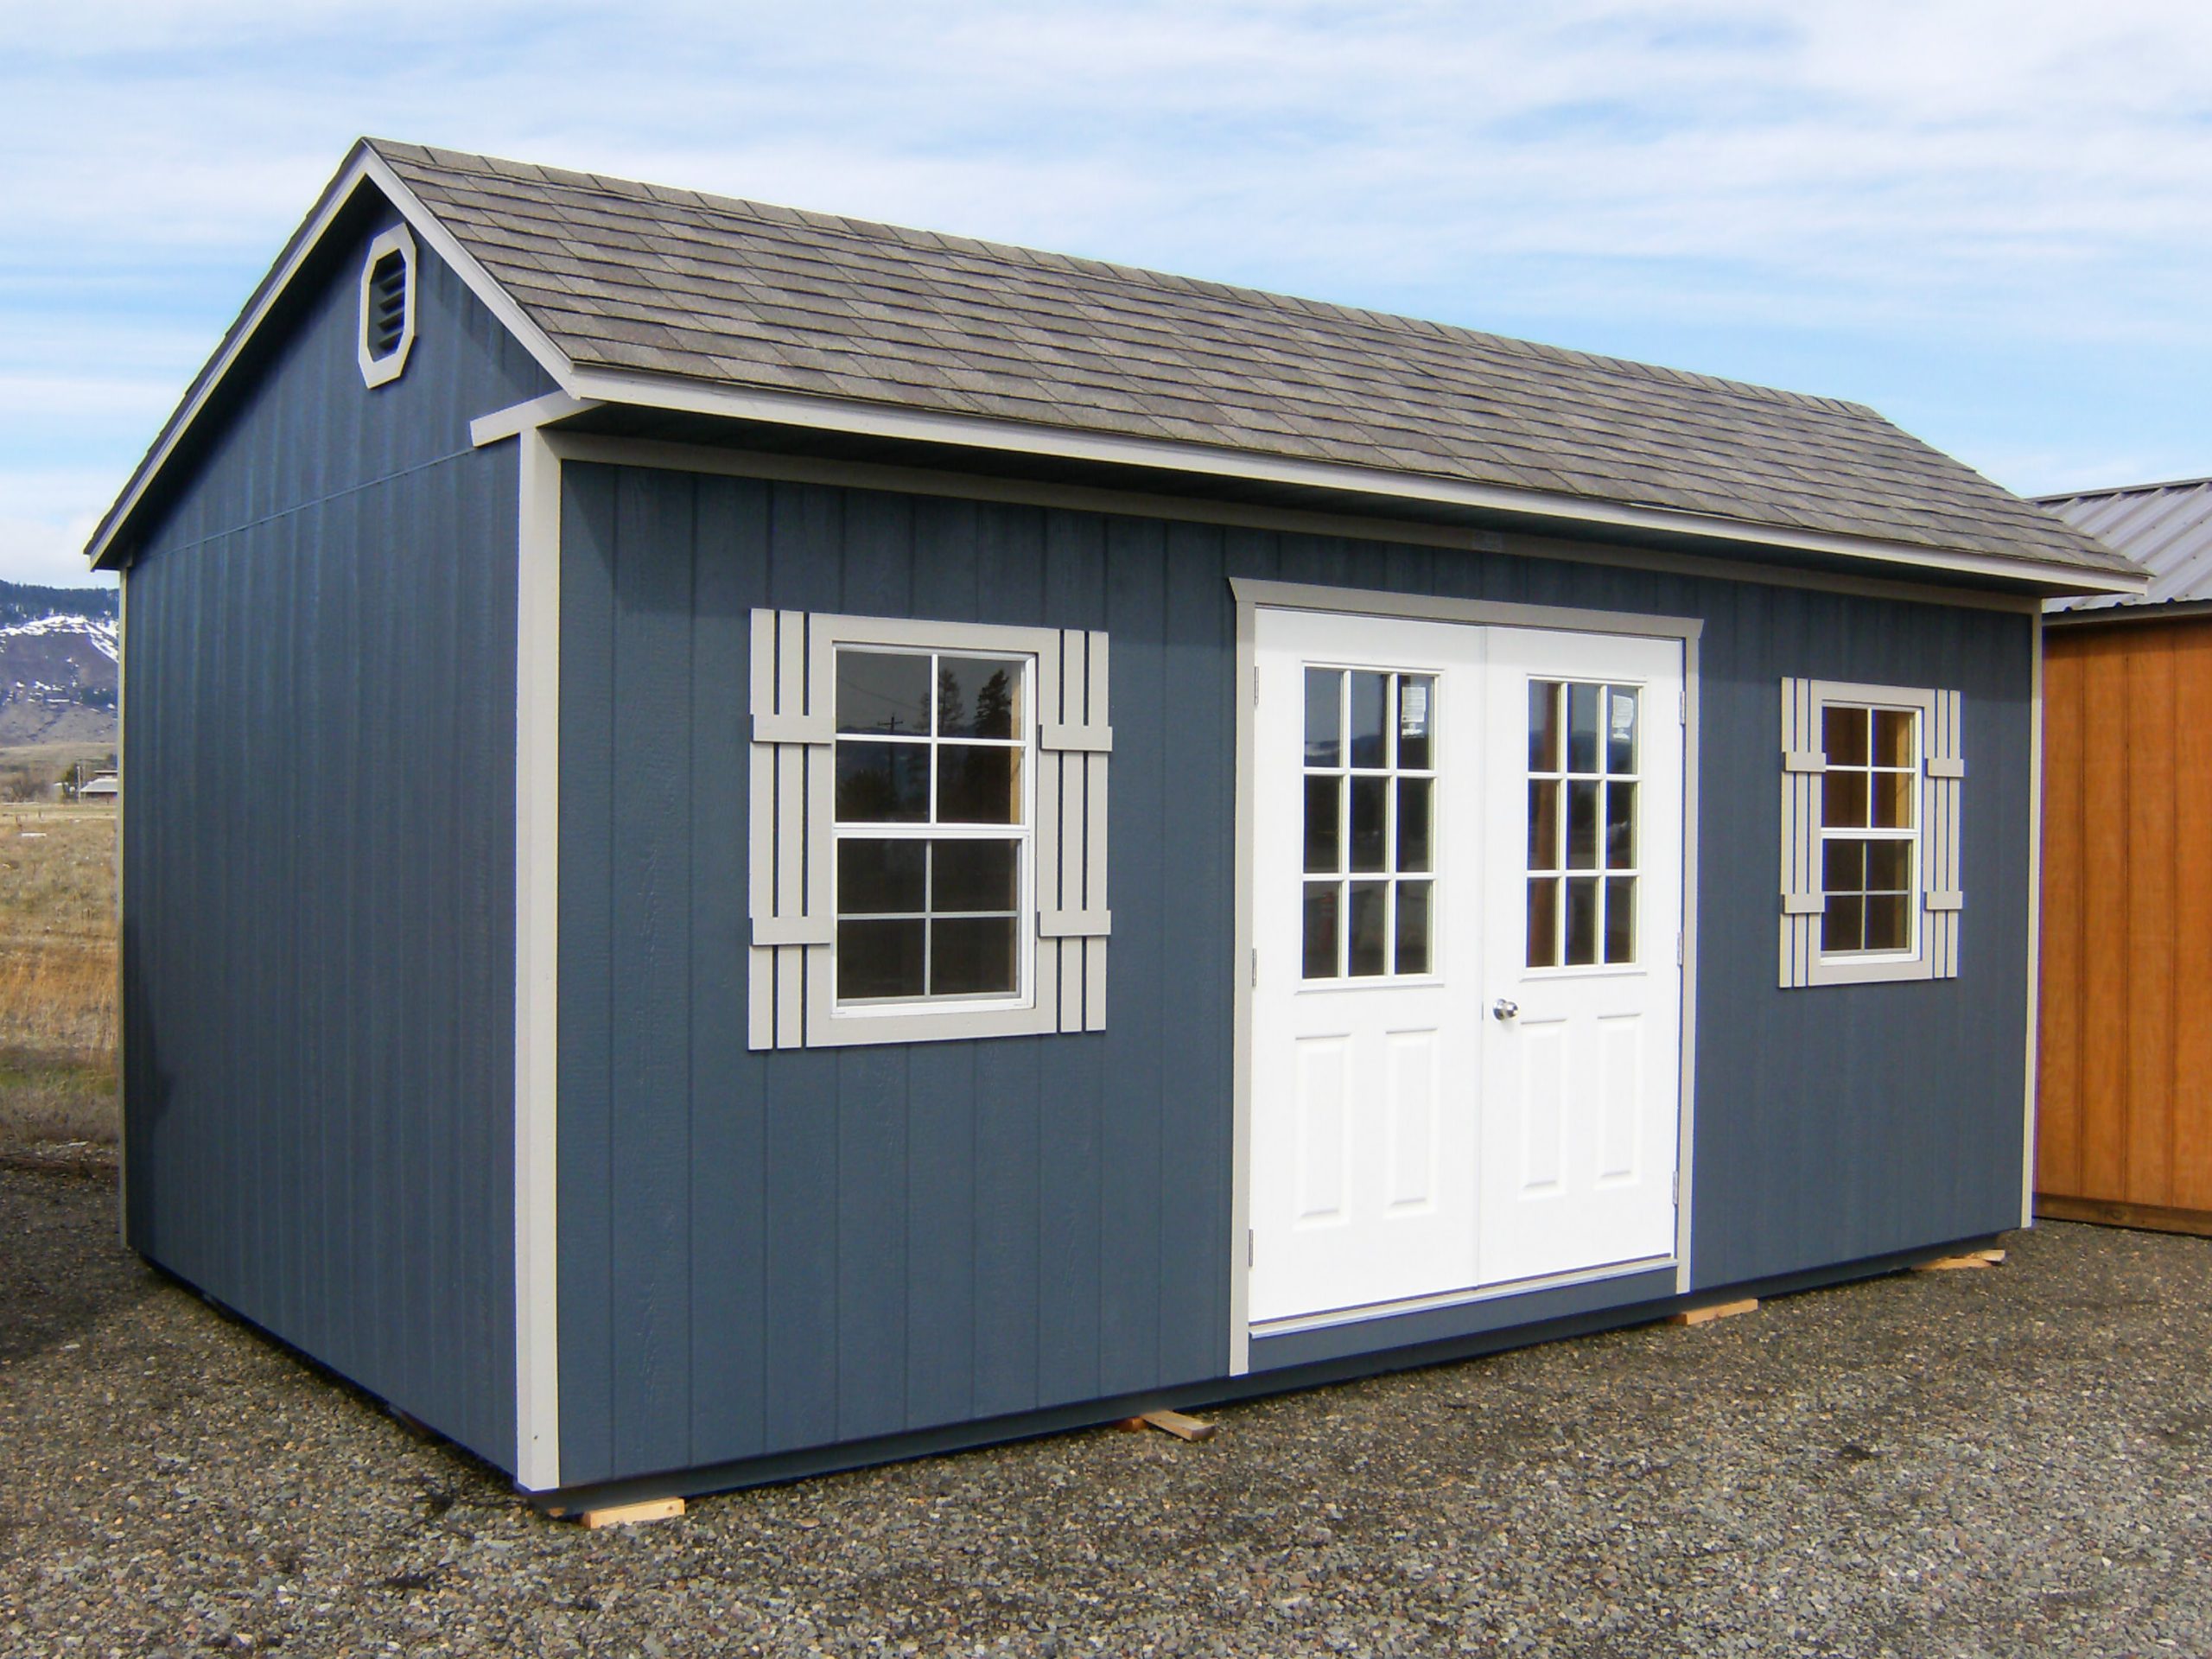
Step 3: Spruce Up the Exterior & Add Extra Windows (if using current shed)
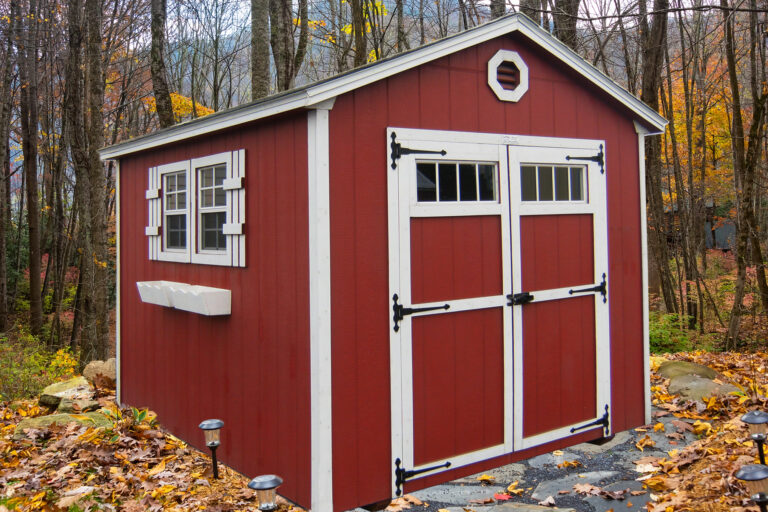
If you already have a shed and the exterior looks a bit worn down, consider adding a fresh coat of paint, trim, or some flowers boxes.
Plus, if you want more natural lighting, adding windows now is a great idea.
Touching up the outside first ensures that any fresh paint or dust will not make its way into your newly renovated room.
Step 4: Start with a Clean Slate & Clear Out Everything
This step only applies if you are using your current shed and if it is full of storage, tools, etc.
If so, time to organize and clear out everything inside your shed. Get rid of the old and make way for the new!

Helpful Cleaning Out Tips:
- Sell unwanted, yet profitable items on eBay or Facebook Marketplace
- Donate unwanted décor, tools, or pots to thrift stores or give away to family or friends
- Throw away or recycle all trash, plastic, or metals
- Keep only the things you have used in the last year, box them, and store them elsewhere
Step 5: Purchase Necessary Tools, Materials, & Equipment
Time to write a list of all the materials, tools, and equipment you will need to convert your shed into a guest bedroom.
Whichever tools, materials, or equipment you do not have on hand, prepare to go to your local Lowes or favorite hardware store and make sure you have everything ready to go.
- Nails
- Primer & Paint
- Insulation
- Interior Siding
- Electrical wiring (if you are planning to DIY)
- Lighting fixtures and hookups
- Flooring
- Etc.
You can also make your list as you go through the following steps and think more about what you want or do not want.
Step 6: Wire Up for Electrical Connection (optional)
Some people forgo this option especially if they are converting their shed into a child’s playhouse to be enjoyed during the sunny hours of summer.
However, if you want to convert your shed into a she shed, mancave, or guest bedroom, then hooking up to an electrical source will enable you to enjoy artificial lighting in the late evenings or early mornings.
Plus, you might also want to use electrical heating or cooling methods such as a Black & Decker AC/Heat Combo unit or a Cadet Portable Baseboard Heater to keep things warmer and cooler depending on weather.

You have 2 options when it comes to bringing electrical power to your one room shed.
- Traditional electricity
Check out this video to get an idea of what adding electric to your shed might involve.
- Environmentally friendly solar power
Check out this video how this man added solar power to his shed and get inspired.
Either way you go, the next question is, who will install the necessary energy connections?
You can either hire an electrician or DIY.
- Hiring an electrician – The most expensive option, but the guaranteed to ensure proper wiring and safety. Costs for professionally wiring a shed can range from $600 – $2,000 depending on how much power, outlets, box, etc., and time is needed to complete the project.
Check out this 12×16 mancave office to see what all electrical connections it provides after paying an experienced electrician $1,700 dollars.
- DIY – Ideally, you should have some level of electrical experience or knowledge under your belt to take on this task, however, wiring up a shed for a one room “party” is more feasible than if you were turning it into a tiny house. The costs for DIY electrical work range from $100-$600 dollars.
Step 7: Insulate the Shed (optional)
If you want to enjoy the best temperature control all year around and save on electricity bills, take the time to install insulation.
Popular insulation methods for a shed include the following options:
- Spray foam (watch this video on how to install spray foam insulation)
- Loose fill
- Foam boards
Check out these helpful videos on installing foam boards on the walls and ceiling DIY.
Our Shed Insulation Recommendations Rated
- #1 recommendation = spray foam
- #2 recommendation = foam boards
- #3 Pretty sure you can guess it…loose fill ????
Also, check out this Complete Guide on Insulating a Shed.
Step 8: Enclose Walls with Attractive Siding (optional)
Some people opt to forgo insulation and siding all together and simply enjoy the natural look of the wooden shed’s interior.
However, if you do add insulation or even if you do not, you can still add interior siding to create a homey and modern atmosphere and appearance inside your shed.
Popular interior shed siding choices include:
- Drywall – Cheapest option, but most work involved
- Shiplap – Most expensive, involves careful assembly
- Plywood – Expensive, yet simplest installation
Step 9: Paint or Add an Accent Wall
So, whether your shed’s interior walls are still raw and natural or insulated and lined with siding, paint is your next step! Paint adds brightness, character, and comfort to a room. Some of your painting options could include the following:
Raw walls –
- Paint completely with your desired color(s) based on the theme of your room
- Accent one wall with paint
- Add shiplap, refurbished wood, or faux brick to one of the walls to accent
Walls with siding –
- Leave raw if gone with already prepped white shiplap
- Paint completely with your desired color(s) based on the theme of your room
- Accent one wall with distinct paint color
- Add shiplap, refurbished wood, or faux brick to one of the walls to accent
Whether this room is going to be a she shed, man cave, guest room, or playhouse, follow your tastes and favorite color combos and you will do just fine!
Step 10: Hook Up Lighting
Some people bypass the workbench if their space is too small and simply add an antique or modern piece of furniture, such as a chest and drawers or a cupboard. This offers you a space to store items and a bit of space to work on if desired.
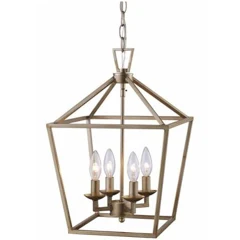
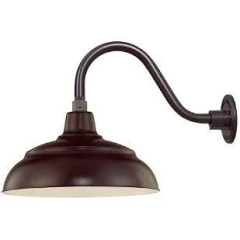
Do you wish to add a fancy, modern, or rustic lighting fixture? Once you have bought your ideal ceiling lighting fixture(s), now is a good time to connect and install them.
Check out the following decorative and stunning light fixtures. Beware one of them might just convince you to take them home. ????. View Lighting Fixtures
Step 11: Add Flooring
Ahh…at last. No more technical work, wet and sticky materials, paint, or glue! Well, almost depending upon what flooring you choose.
Here are some of your flooring options:
- Carpet – Not moisture friendly
- Real wood flooring with protective covering
- Just Paint – Potential for chipping
- Water-proof Vinyl Plank flooring – Highly recommended
- Engineered hardwood
- Tile
- Laminate – Cheapest option, but not moisture friendly
Step 12: Fill with All the Fun & Decorative Works
Yes! Way to go! By this step you have yourself a prepped, clean, and beckoning empty room begging to be filled with the items, furniture, and décor that shows off its purpose.
So, whether you are going for that she shed, man cave, guest room, or playroom, now is the time to add those defining and finishing touches!
How to Convert Your Shed Into a Guest Bedroom and more….
Enjoy some visual inspiration and tips for converting a shed into a room, or consider turning a shed into a home work shed!
Guest Room!
Kids Playhouse!
She Shed!
She Shed Home Office!
Man Cave!
Another Playhouse!
⭐️Lets Get To it! Having a Shed turned Guest Bedroom Can be a Reality! ????
Maybe you are starting at ground level? If you said YES, then give us a call for more information about how we can help make your dream come true!
