How to Clean a Chicken Coop – A Simple 5 Step Guide
Onur Aydin - December 14, 2023
Owning your own backyard chickens can be a rewarding hobby. Not only are chickens a fun pet, but their eggs are a tasty, natural source of protein and loads of other nutrients. If you’re new to this hobby you may have wondered how to clean a chicken coop and keep it clean. Follow the simple steps and tips below, you’ll be on your way to happy, healthy chickens.

What happens if I don’t clean my chicken coop?
First, we’d like to emphasize the importance of having a clean chicken coop. Many backyard chicken owners simply clean out their chicken coops whenever they get around to it, without making it much of a priority. This is not a good practice and could make your chickens unhappy and unhealthy.
If you don’t regularly clean out your chicken coop, it could become a hotbed of bacteria and other diseases. Allowing excessive chicken litter to build up could lead to high levels of ammonia which can damage the respiratory system of your chickens.This will make them more susceptible to other diseases, especially bacterial respiratory infections. Working in an area with high levels of ammonia is also unhealthy for those in your family taking care of the chickens.
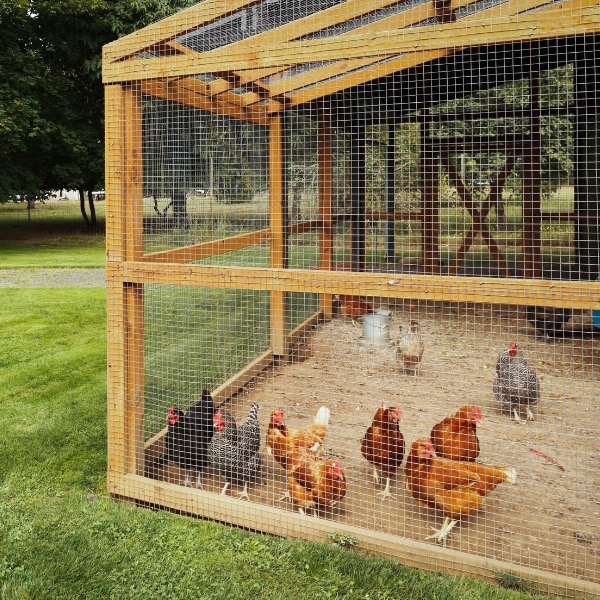
If your coop is excessively dirty, it could become a haven for chicken mites. Chicken mites are tiny creatures that can infest your chickens, attacking their feathers or sucking their blood. Clearly, this is not something you want to deal with, and learning how to clean a chicken coop properly will go a long way in preventing an infestation. If you want to learn more about chicken mites and how to deal with them, here’s a great article on the topic.
How to clean a chicken coop: A simple 5 step guide
Now that we’ve shown you how necessary it is to keep a clean chicken coop, let’s get into the fun stuff. Here’s a simple 5 step guide on how to clean a chicken coop. Roll up your sleeves and get to work!
1. Clean out your coop
The first step is to clean out the coop. Take out your chickens and place them in a temporary holding area. Then take out everything that is moveable. This includes feeders, nesting boxes, etc. After this is finished, you’ll need to remove the bedding and chicken litter. This will be a dirty job, so you might want to wear gloves, old clothes, and a facemask. After this is finished, go through the coop and clean out the cobwebs and other materials that may have built up over time. Any loose dirt should be removed.
2. Wash with water
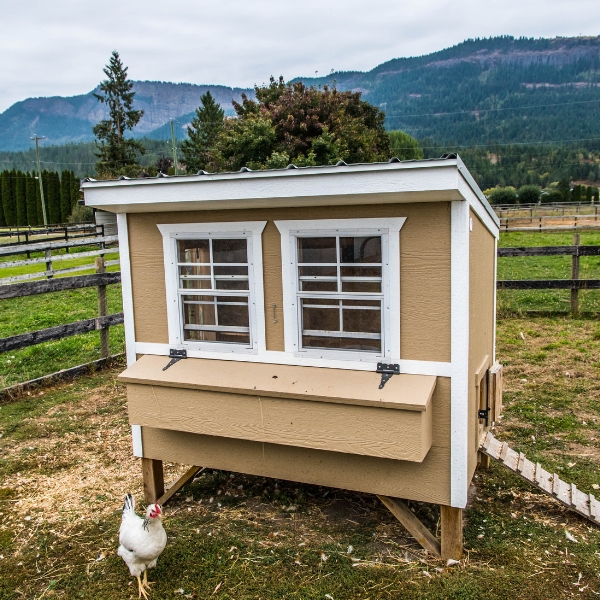
For the second step, get a hose and wash down the chicken coop. The goal of this step is to clean any cobwebs and dust left over from the first step. This includes washing down the walls, ceiling, and roosting areas. You can also wash your waterers, feeders and any other equipment that belongs in the chicken coop.
3. Disinfect
You are now ready to disinfect your chicken coop. This might be the most important step so make sure you take your time and don’t cut corners. There are different products you can use to disinfect, but natural products are better for your chickens than harsher industrial cleaning agents. A good mixture to use is a simple blend of equal parts water and vinegar. Take the mixture and scrub all the surfaces thoroughly. You’ll probably need a mop or a brush with a long handle to get to those hard-to-reach places. After you’re finished, rinse everything thoroughly with a hose.
It’s important to remember that your feeders and waterers also need to be disinfected. Take the time to give them a good cleaning. Your chickens will thank you!
4. Allow to dry
After all your hard work, take a break and allow everything to dry. This is an easy step, but also very important. If your coop is still wet when you add the bedding, the bedding will soak up the moisture and stay damp for a long time. You can speed up the drying process by mopping up any puddles of water.
5. Move back in
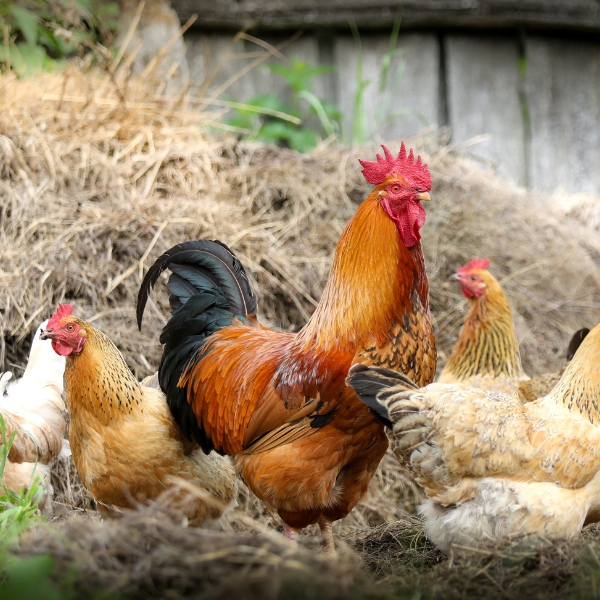
After the coop is dry, you can start moving in. The first step is to put some bedding down. There are a few different options when it comes to bedding, but both straw and pine wood shavings are good choices. Check out this article for more information on bedding options.
After your bedding is in the coop, move your feeders, nesting boxes, etc. back in. Finally, grab your chickens and bring them to their new home!
How often should I clean my chicken coop?
A deep clean of your chicken coop should be done approximately every 6 months. Keeping a regular schedule of smaller cleaning tasks will keep your coop from needing a deep clean on a regular basis. Here’s a rough schedule of daily, weekly and monthly tasks you can do to keep your coop clean.
Daily
- Collect eggs
- Keep the feed fresh. You may want to discard old feed every 1-2 days.
Weekly
- Refresh bedding. This will keep ammonia from building up and your coop smelling fresh.
- Clean waterers and feeders. You can use a solution of 50% water and 50% vinegar for disinfectant.
- Clean out cobwebs and dust.
Monthly
- Use your water/vinegar cleaning solution to clean the inside of your chicken coup.
- Clean areas where chicken poop accumulates over time, such as nesting boxes and roosting areas.
Every 6 Months
- Do a deep clean as described in the 5 steps above
Other Questions People Ask
How can I keep my chicken coop from smelling bad?
Keeping the bedding fresh isn’t the only way to keep your coop from smelling bad. Here are a few things you can do to keep the smell away.
- Make sure you have proper ventilation. One way to improve ventilation is to use a box fan and keep it running at a low speed. Also, a good chicken coop will be built in a way that allows for plenty of airflow.
- Keep your coop dry. It doesn’t take long for wet bedding to start smelling. If the bedding is constantly damp, make sure the roof in your coop isn’t leaking and repair any leaks in your waterers.
- You can add fresh herbs or flower petals to your chicken coop for a pleasant aroma. Mint is a great herb to use, since it smells good and can repel certain types of pests.
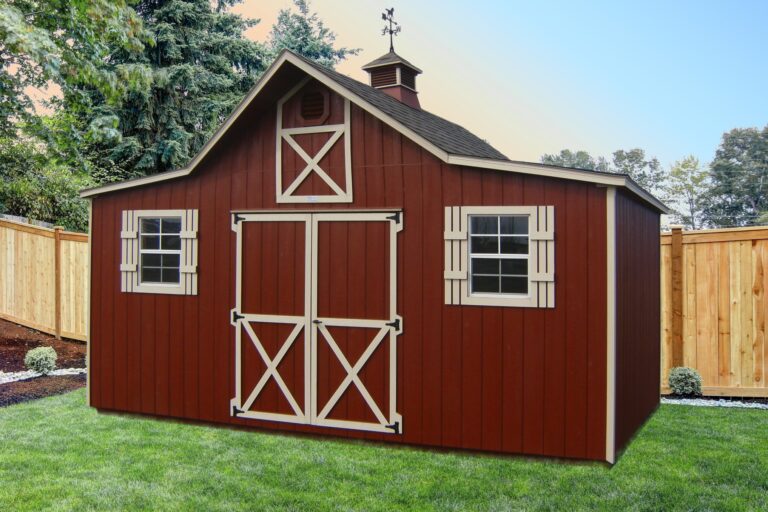
- Upgrade your coop. If you have a chicken coop with poor ventilation or a leaky roof, you may want to upgrade. At Countryside Sheds, we offer well-built, customizable chicken coops that are perfect for backyard chickens.
What should I do with my chicken litter after I clean it out?
A great use of chicken litter is composting it and using it to improve your soil. Since chicken manure is high in nitrogen, phosphorus, and potassium, using it in your garden, flower bed, or field is a great way to improve the quality of your plants. Learn more about composting your chicken litter in this article.
In Conclusion:
Having a clean chicken coop is essential to keeping your chickens happy and healthy. Keep a regular schedule of cleaning and you’ll be well on your way to long term success in raising your chickens!
If you have any other questions or would like a quote on a new chicken coop, feel free to reach out to us.


